TT user guide
Like other Twitch extensions, there are three parts to TT: the actual video overlay, a live dashboard widget for the streamer, and a configuration page for the streamer.
TT will never compete with more capable timers like LiveSplit. The most important part for this experiment is the video overlay. By adding interaction with the viewer, it can show more detail, and at the same time start in a minimal state that doesn't require you to reserve a slice of your video canvas for your timer tool.
The end goal is to have a powerful timer display, controlled right from the timer tool you're used to. While we wait for these integrations to happen, TT offers a very basic UI for the streamer to configure it.
Video overlay

When first enabled, TT displays nothing. Only when you start using TT or create a configuration does the video overlay become visible.

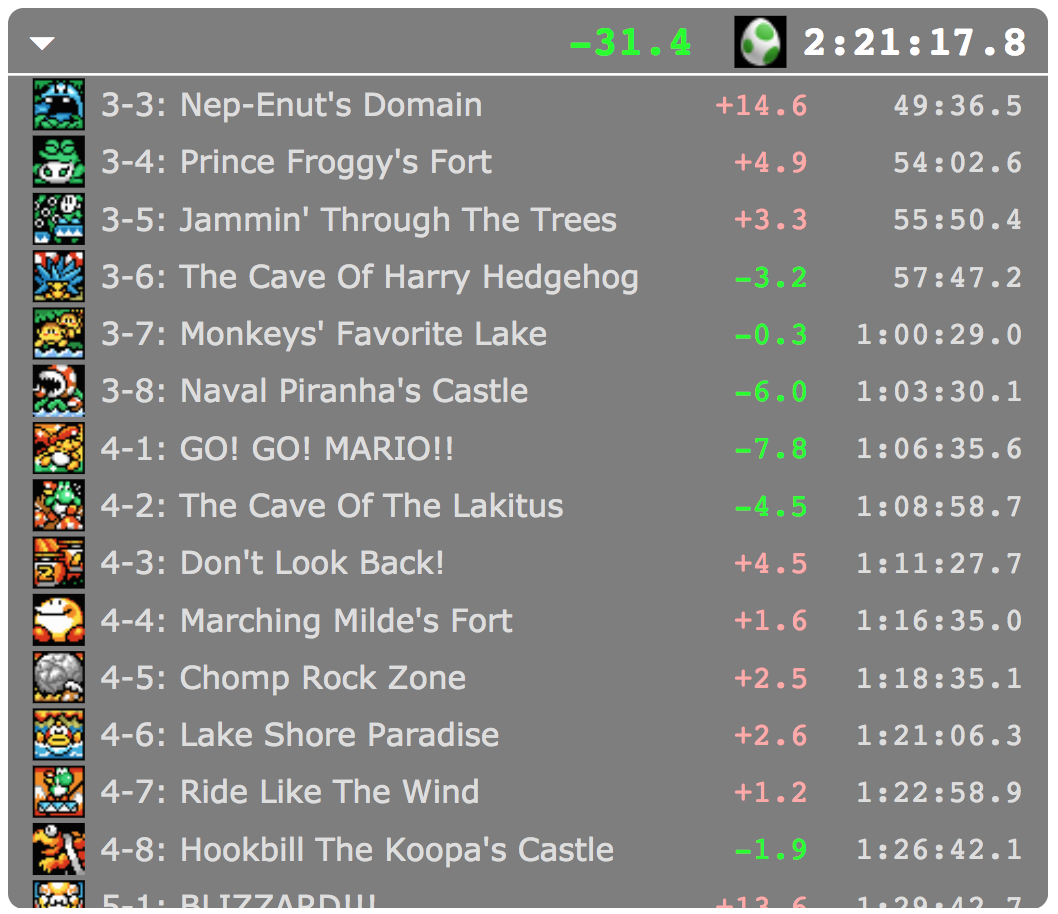
The video overlay starts in a minimal state, showing just the time. When clicked, it displays your splits with times, and offsets from your personal best split times.
Dashboard widget

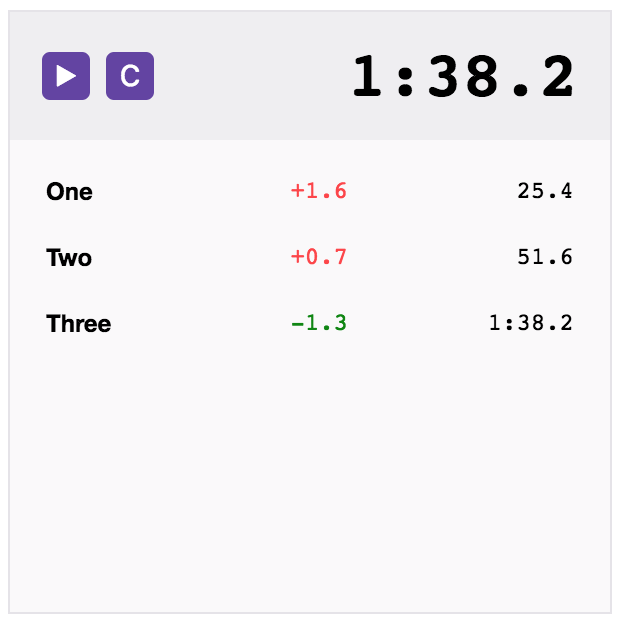
Your dashboard widget represents a very simple timer with controls. Initially, there is just one unnamed split, which means it'll function like a simple stopwatch. Configuring splits is done on the configuration page, described later on.
While stopped or paused, the timer displays a 'play' button (▶︎) and a 'clear' button (C). The play button obviously starts the timer. The clear button clears all split times, resets the timer to 0, and starts a new run. Clicking the clear button a second time resyncs the timer with the server, for when you notice something's gone wonkey.
While running, the timer displays a 'pause' button (❙❙) and a 'split' button (★). The pause button obviously pauses the timer. The split button notes the current time for the next split. If that was the last split, the timer is automatically paused, otherwise it continues.
Configuration page

The configuration page allows you to configure splits. The list on the left displays configurations, with the active configuration marked with a bullet (●).
Each configuration has a name, one or more splits, and zero or more runs associated with it. The right-hand side allows you to add, change and remove these, as well as save, create and delete configurations.
Configurations and everything in them are stored locally, in your browser. Whichever configuration you activate is the one visible to viewers and on the live dashboard. Only the active configuration is sent to a server.